
Are you tired of your old, creaky garage door? Installing a new overhead door can be a game-changer. A fresh garage door can boost your home’s curb appeal by up to 4%. This guide will walk you through the steps to install an overhead door.
Get ready to transform your garage!
Key Takeaways
- Installing a new overhead door can boost home curb appeal by up to 4%.
- Key tools needed include a ladder, drill, level, tape measure, and wrenches.
- Safety is crucial when removing old doors; release spring tension and disconnect the opener first.
- Install panels from bottom to top, aligning tracks carefully for smooth operation.
- Regular maintenance, including lubricating moving parts twice a year, keeps the door working well.
Pre-Installation Preparation
Get ready to set up your new overhead door! First, clear out the space and grab your measuring tape. Next, round up all the tools and parts you’ll need for a smooth install.
Clear the area and take measurements
Before you start, clear out your garage. Move cars, bikes, and tools away from the work area. This gives you space to move and keeps your stuff safe. Next, grab a tape measure. You’ll need to know the exact size of your door opening.
Measure the width and height carefully. Don’t forget to check the headroom and backroom too. These numbers help you pick the right door size.
Make sure nothing blocks your way. Look for pipes, wires, or shelves near the door area. If you find any, you might need to move them. A clean, open space makes installing your new garage door much easier.
It also helps prevent accidents during the process. With a clear area and correct measurements, you’re ready for the next steps.
Gather tools and materials
Grab your tools and gear up for your garage door install! You’ll need a cordless screwdriver, ratchet wrench, tape measure, and level. Don’t forget locking pliers, lag screws, and stepladders too.
These items will make your job much easier.
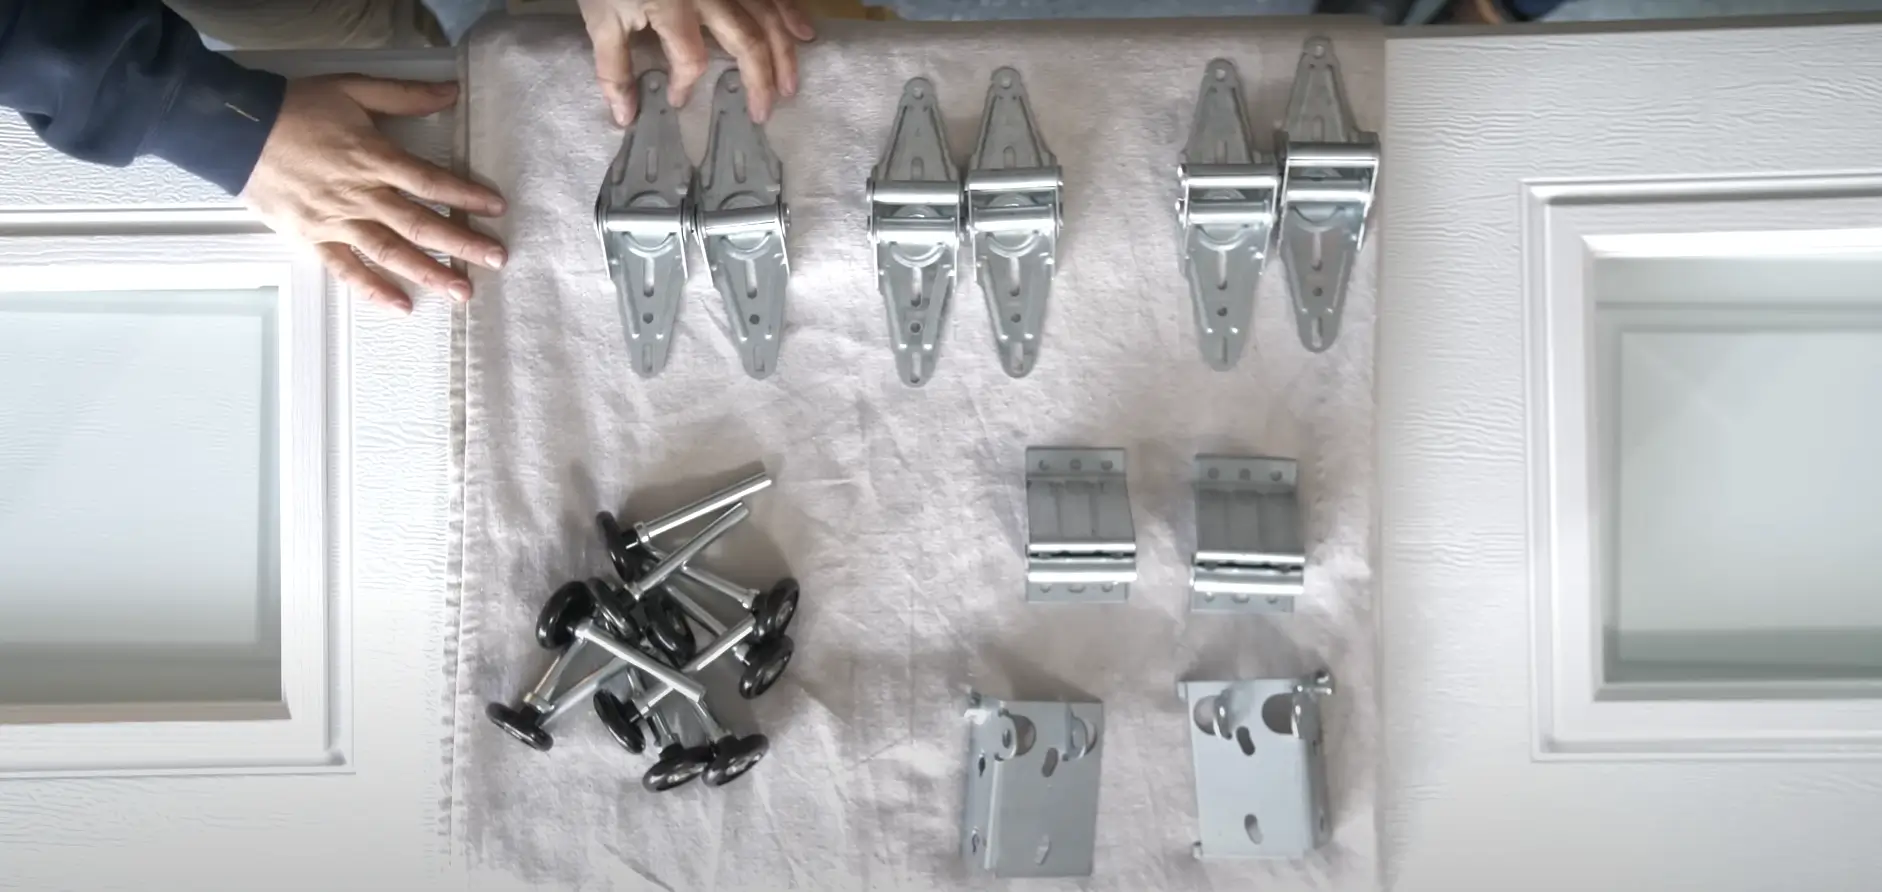
Next, gather your materials. You’ll want weather stripping, shims, stop bolts, and brackets. Hinges, rollers, and perforated angle irons are also key. Lastly, pick up a tension system kit.
With all these items on hand, you’ll be ready to tackle your overhead door project like a pro.
Tools Needed for Garage Door Installation
Installing a garage door requires the right tools. Here’s a list of what you’ll need:
- Ladder: To reach high spots and work on the upper parts of the door.
- Adjustable wrenches: For tightening and loosening various nuts and bolts.
- Pliers: To grip and manipulate small parts and wires.
- Drill with bits: For making holes and driving screws into different materials.
- Cordless screwdriver: For quick and easy screw installation.
- Ratchet wrench: To tighten bolts in tight spaces.
- Tape measure: For accurate measurements of the door and frame.
- Level: To ensure the door and tracks are straight.
- Locking pliers: To hold parts in place while working.
- Phillips driver bit: For driving Phillips head screws.
- Open-ended wrench: For turning nuts and bolts in tight spots.
- Hammer: For light tapping and adjustments.
- Half-inch diameter rods: Used for winding torsion springs safely.
- Sawhorses: To support door panels during assembly.
Removing the Existing Door
Ready to swap out your old garage door? First, you’ll need to release the tension on the springs. Next, disconnect the opener from the door. These steps will make it safe to remove the existing panels.
Release tension and disconnect the opener
Safety comes first when removing an old garage door. Let’s go through the steps to release tension and disconnect the opener safely.
- Unplug the garage door opener from the power outlet.
- Find the emergency release handle, usually a red rope hanging from the opener trolley.
- Pull the handle down firmly to disconnect the opener from the door.
- Locate the torsion spring above the door. It’s a coiled metal spring running parallel to the door.
- Use a solid steel bar to fit into the winding cone at the end of the spring.
- Turn the bar slowly to release tension, following the manufacturer’s instructions closely.
- Remove any remaining hardware connecting the door to the opener.
- Take off brackets holding cables to the bottom of the door.
- Detach hinges between door panels if you plan to remove them separately.
Now that we’ve safely prepped the door, let’s move on to installing the new panels.
Installing the New Door Panels
Ready to install your new door panels? This step is key to getting your overhead door up and running. You’ll start with the bottom panel and work your way up, making sure each piece fits snugly in place.
Position and secure the bottom panel
Let’s get that bottom panel in place! First, find the panel with rubber weather stripping. This is your bottom piece. Lay it down with the outside facing the floor. Center it in your garage opening.
Now, grab your lag screws and bottom brackets. Use these to secure the panel firmly in place. Don’t forget to slide rollers into the holes on brackets and hinges. This lets your door move smoothly up and down the track.
With the bottom panel set, you’re off to a great start on your new garage door!
Attach remaining panels and align tracks
Time to add the rest of the panels! Grab your lag screws and secure the hinges to the top corners of each panel. Don’t forget to slide the rollers into the brackets and hinges. This step needs care and patience.
Line up the tracks with your door frame for a smooth glide. The final panel is tricky, so pay extra attention. Its hinges must fit the roller into the curved track just right.
Make sure each panel sits snug against the one below it. Check that everything lines up as you go. A helper can make this job easier and safer. Once all panels are in place, give the door a test run.
It should move up and down without catching or sticking. If it does, adjust the tracks until the motion is smooth. A well-aligned door will last longer and work better.
Installing the Spring and Cable System
Installing the spring and cable system is a key step in garage door setup. You’ll need to attach torsion springs and connect cables to make your door work smoothly.
Install torsion springs and connect cables
Installing torsion springs and connecting cables is a key step in garage door setup. This process needs care and attention to detail for safety and proper function.
- Buy a torsion spring kit that fits your door size and weight.
- Attach wall brackets above the door opening to hold the springs.
- Slide the torsion tube through the springs and secure it to the brackets.
- Thread lifting cables through the bottom brackets on the door panels.
- Run the cables up to the cable drums on the torsion tube.
- Wind the springs using a drill, following the maker’s instructions closely.
- Check that the cables are tight and the springs are wound evenly.
- Apply garage door lubricant to the springs for smooth operation.
- Test the door’s balance by lifting it halfway and letting go.
- Make small adjustments to the spring tension if needed for perfect balance.
Post-Installation Checks
After you hang your new door, give it a good once-over. Check if it’s straight, oil the moving bits, and make sure it opens smoothly. Want to know more about keeping your garage door in top shape? Keep reading!
Inspect alignment and lubricate moving parts
After installing your overhead door, it’s time for some final checks. Look closely at the door’s alignment. Make sure it opens and closes smoothly. Next, grab your WD-40 and get ready to oil things up.
Twice a year, you’ll need to grease the rollers, springs, hinges, and lift cables. This keeps everything running like a well-oiled machine.
Don’t forget about the tracks! They can collect dirt and junk that might block your door’s path. Give them a good clean to keep things moving. A balanced garage door should stay put when you lift it halfway.
If it doesn’t, call a pro to adjust it. These simple steps will keep your door working great for years to come.
Commercial Garage Door Installation Steps
Commercial garage doors need special care during installation. These steps will guide you through the process for a smooth setup.
- Check local building codes and get permits before starting.
- Clear the work area and measure the opening carefully.
- Gather all tools and materials, including a drill, level, and wrenches.
- Remove the old door if needed, being careful of tension springs.
- Install the vertical tracks on both sides of the opening.
- Attach the first panel at the bottom and add rollers.
- Stack and secure additional panels, connecting hinges between each.
- Install the horizontal tracks and brace them to the ceiling.
- Put in the torsion spring system above the door opening.
- Connect the cables from the bottom brackets to the drums.
- Adjust the spring tension following the maker’s instructions.
- Test the door’s balance and movement.
- Lubricate all moving parts, like rollers and hinges.
- Install weather stripping around the edges for a tight seal.
- Add safety features like photo eyes and auto-reverse.
Conclusion
Installing overhead doors can be an enjoyable home improvement project. With the proper tools and a helper, you can reduce costs and take pride in your work. Take your time and follow each step carefully.
Safety is paramount, so proceed at a steady pace. If you’re uncertain at any point, don’t hesitate to seek advice from a professional. Your new garage door will enhance your home’s appearance and value for years to come.
FAQs
1. How do I start installing an overhead garage door?
First, choose the right door for your home. Then, gather tools and someone to help. Begin by removing the old door, if there is one. Next, install the roller track on both sides of the opening. Make sure it’s level and securely mounted.
2. What’s the process for putting up door panels?
Start with the bottom panel. Place it in the opening and secure it. Then, add hinges to the top edge. Put the second panel on top of the first, and attach it with hinges. Keep going until all panels are in place. Remember, safety comes first!
3. How do I install the spring system?
This is tricky and can be dangerous. You’ll need to install extension springs or a torsion spring system. Follow the maker’s instructions carefully. If you’re not sure, it’s best to call a pro. They know how to safely install these powerful springs.
4. What about installing the garage door opener?
Once the door is up, you can add the opener. Mount the motor unit to a joist in the ceiling. Attach the belt or chain to the door. Then, set up the safety sensors near the floor. Test everything to make sure it works right.
5. Are there any special tips for a smoother installation?
Yes! Use a workbench to organize your tools. Lubricate hinges and rollers for quiet operation. Check the opening to ensure it’s square. Use lag screws for a secure fit. Take breaks to avoid fatigue. And always put safety first!
6. When should I think about hiring a professional?
If you’re not handy with tools, or if the job seems too big, it’s smart to hire a pro. They can handle tricky parts like spring installation. Pros also know local building codes. If you’re short on time or worried about safety, calling an expert is a good choice.